

Tie Rod End Installation Guide: How to Fit One Correctly and Avoid the Mistakes That Cause Early Failure

Table of Contents
A workshop in Delhi fits a brand-new tie rod end onto a customer's tractor, and within a season the steering has gone loose again — not because the part failed, but because of how it was installed.
A correctly bought tie rod end, torqued to a guess, closed with a reused cotter pin, or never checked at the alignment shop, can fail early and get blamed on "cheap parts" that were never the problem. MOD Plus has supplied OEM-grade tie rod ends across India's tractor, LCV, and commercial vehicle aftermarket since 1978.
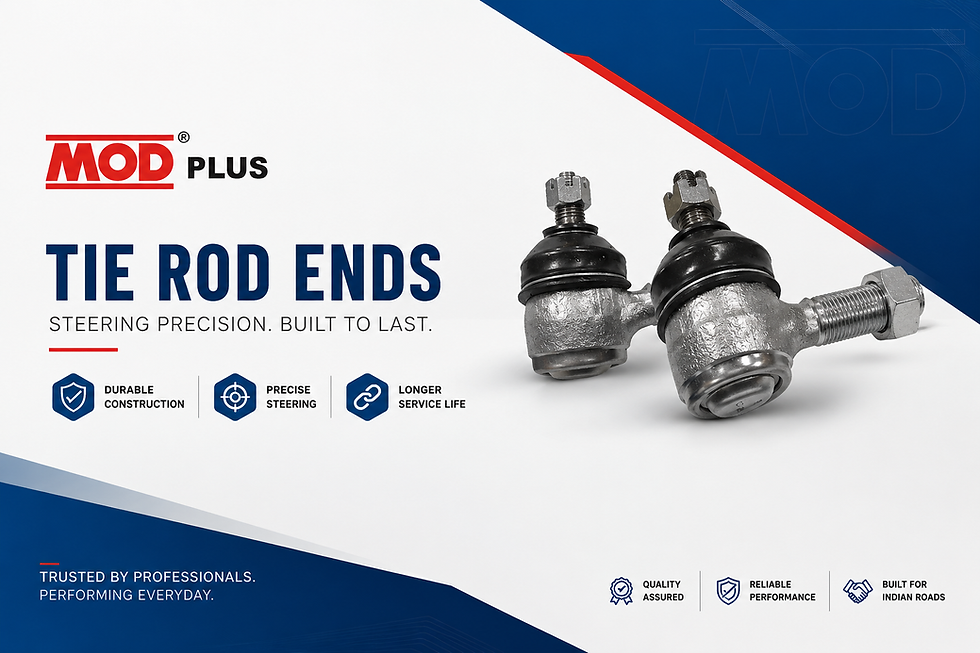
For the fundamentals, see our complete guide to tie rod ends — this guide assumes you already have a replacement in hand and want to fit it right the first time.
What You'll Need Before You Start
Gather a jack and a pair of rated jack stands, wheel chocks, a socket and wrench set matching your vehicle's fasteners, a ball joint separator (a pickle fork works but can damage the boot — a proper separator is gentler on it), a torque wrench, and a wire brush for cleaning threads.
Have the new tie rod end in hand, along with a new cotter pin and, where your vehicle uses one, a new castellated nut — never plan to reuse either. If you haven't actually confirmed your existing tie rod end is worn, MOD Plus's 2-minute DIY test is the quicker first step before you buy or fit anything.
Safety First
Working under a raised vehicle on a safety-critical steering component is not the place to cut corners. Park on level, firm ground, engage the parking brake, and chock the wheels before you touch a jack.
Never work under a vehicle supported only by a jack. Once raised, transfer the load onto proper jack stands rated for the weight, and only then go underneath. Wear gloves to protect your hands from sharp threads and grease, and keep the work area clear of loose tools.
If your tractor or vehicle tends to roll on the slope you're parked on, chock both sides, not just one. A tie rod end sits in the one system that keeps the vehicle pointed where you steer it — every precaution here exists because something has gone wrong when it was skipped. If you're not confident about any of this, see When to Let a Mechanic Handle It Instead below.
Step-by-Step: Installing a Tie Rod End Correctly
Follow these steps in order. Each one covers a single action — don't combine steps or skip ahead, even if you've done this before.
Secure the vehicle and set up your workspace. Park on level ground, engage the parking brake, and chock the wheels that will remain on the ground. Lay out your tools and parts within easy reach.
Loosen the wheel nuts, then raise the vehicle. With the vehicle still on the ground, break the wheel nuts loose a partial turn — this is much harder once the wheel is off the ground. Use the jack at a manufacturer-approved lift point.
Support the vehicle on jack stands before going underneath. Once raised to working height, lower the vehicle onto rated jack stands. Never rely on the jack alone to hold the vehicle up while you work underneath it.
Remove the wheel. Finish removing the wheel nuts and set the wheel aside, clear of your workspace.
Mark the old tie rod end's position on the threaded adjuster. Using a scriber, paint marker, or file mark, note exactly how far the old tie rod end is threaded onto the adjuster sleeve. This gives a starting reference for the new part — though the alignment check afterward is still non-negotiable.
Remove the cotter pin and castellated nut from the tie rod end stud. Straighten and pull the old cotter pin, then remove the castellated nut. Set both aside for disposal — neither gets reused.
Separate the tie rod end from the steering knuckle. Use a proper ball joint separator to break the stud loose from the knuckle. Avoid hammering directly on the joint or knuckle, which can damage surrounding components.
Unscrew the old tie rod end from the adjuster sleeve or tie rod. Count the turns as you remove it — this doubles your reference alongside the mark from step 5.
Clean the adjuster threads and inspect the sleeve and boot area. Wire-brush away old grease, rust, and debris so the new part threads on smoothly and the toe adjustment isn't fighting corrosion.
Thread the new tie rod end onto the adjuster to your reference mark. Turn it on by hand as far as it will go, then use a wrench to bring it to the position marked in step 5. Many adjuster sleeves thread in opposite directions at each end — right-hand on one side, left-hand on the other — so confirm the correct way before forcing anything.
Seat the stud in the steering knuckle and fit a new castellated nut. Insert the tapered stud fully into the knuckle, then thread on the new castellated nut by hand.
Torque the castellated nut to the manufacturer-specified torque for your vehicle. Use a torque wrench and the torque figure from your vehicle's service manual or MOD Plus's application data — never a guess. If the cotter pin hole doesn't line up with the castellations at the correct torque, tighten further to the next slot rather than backing off — never loosen a castellated nut just to make a hole line up.
Fit a new cotter pin, grease the joint, and refit the wheel. Insert the new cotter pin through the aligned hole and bend the ends to lock it in place. Grease the joint if it has a fitting, per the manufacturer's schedule. Refit the wheel, torque the wheel nuts to spec, and lower the vehicle off the jack stands.
The Alignment Check You Cannot Skip
Replacing a tie rod end changes the effective length of the steering linkage on that side, even when you matched your reference mark carefully. That mark gets you close, not exact — thread play and manufacturing tolerance are enough to shift the wheel's toe angle measurably. Toe is the angle each front wheel points relative to straight ahead, normally measured in fractions of a degree.
A vehicle running slightly out of toe doesn't necessarily feel wrong at first. It can drive straight enough on a short test loop while quietly scrubbing the tyre tread sideways — wear that shows up weeks later, long after anyone would think to blame the tie rod end job.
Get a wheel alignment done within a few days of any tie rod end replacement, before the vehicle sees significant road or field use. It confirms your installation actually put the wheel back where it belongs, and it's cheap insurance against a tyre bill that costs more than the alignment itself.
The Mistakes That Cause Early Failure After a Correct Purchase
A lot of "the new part failed early" complaints turn out to be installation errors, not part quality. Here's what actually causes it.
Wrong torque — too loose or too tight. Under-torquing leaves the castellated nut able to work loose under vibration, reintroducing the exact play a new tie rod end was supposed to eliminate. Over-torquing can stretch or damage the stud and nut, and on some designs restrict the ball joint's free movement, causing it to bind and wear unevenly from day one. Always use a torque wrench set to the manufacturer's figure — not "tight enough by feel."
Reusing the old cotter pin or castellated nut. A cotter pin that's already been bent once is weaker at the bend and more likely to shear or work loose the second time. A castellated nut that's been torqued and backed off can have slightly deformed threads. Both are inexpensive enough that reusing them to save a trip to the counter isn't a real saving.
Getting the adjuster thread direction wrong. Threading the new part on the wrong way, or not noticing that one end of the adjuster is left-hand threaded and the other right-hand, throws off the toe adjustment range and can strip threads if forced. This is one of the easiest mistakes to make quickly and the hardest to notice until the alignment shop flags it.
Skipping the post-installation alignment check. Covered above, but it belongs here too: this is the single most common reason a correctly installed tie rod end still leads to complaints a few months later — not the part, but the toe angle nobody checked.
Rushing the job under time pressure. A tractor needed back in the field, or a truck due out on a route, pushes installers to skip the reference mark, eyeball the torque, or postpone the alignment "for later." Every mistake above becomes more likely under time pressure, which is exactly when it's worth slowing down instead.
Signs the Installation Wasn't Quite Right
In the days and weeks after installing a new tie rod end, watch for a steering wheel that isn't centred when the wheels point straight ahead — a sign the new part wasn't threaded to the right length. Listen for a clicking or knocking sound specifically from the side you just worked on, distinct from any noise you had before the replacement; it can mean the castellated nut isn't torqued correctly or the stud isn't fully seated.
Watch the tyre on that side over the following weeks for an uneven wear pattern developing faster than the opposite side — an early sign the toe angle is off. Some vehicles will also pull gently toward one side.
For a broader breakdown of what worn or misaligned steering feels like day to day, MOD Plus's Steering Pulling, Wandering, or Clunking? guide covers the full range of tie rod symptoms — worth a read if anything above sounds familiar and didn't go away after your alignment check.
When to Let a Mechanic Handle It Instead
None of the above is beyond an owner with basic tools, a torque wrench, and patience — but it's also completely reasonable to hand this job to a workshop. If your tie rod end is seized from rust, you lack a torque wrench or a way to get an alignment done, or you're simply not confident working under a raised vehicle, a mechanic will do this faster and with less risk.
The part cost is the same either way; what you're paying for at a workshop is the tools, the alignment rig, and the experience to catch a problem before it leaves the shop.
FAQ
Do I need to replace both tie rod ends at the same time?
Not necessarily. If only one side shows wear, replacing that side alone is fine — though on an older, high-hour vehicle, some owners do both sides together to avoid a second alignment visit soon after.
How tight should the castellated nut be?
Tightened to the torque figure specified for your vehicle by the manufacturer or MOD Plus's application data — not a guess. If the cotter pin hole doesn't line up at that torque, tighten to the next slot rather than loosening.
Can I reuse the old cotter pin if it looks fine?
No. A cotter pin is a one-time-use fastener — bending it once weakens the metal, and a failed pin can let the castellated nut work loose. A new one costs very little next to what a loose nut could cost.
Do I really need an alignment after replacing just one tie rod end?
Yes. Even matching your old reference mark closely, replacing the part changes the linkage length enough to shift toe angle. Skipping alignment is the single most common reason a correctly fitted part still leads to uneven tyre wear.
What tools do I need beyond a basic socket set?
A ball joint separator, a torque wrench, and rated jack stands matter most. A pickle fork can substitute for a separator in a pinch but is harder on the rubber boot.
How do I know which direction to thread the new tie rod end onto the adjuster?
Match the turns and position you marked on the old part before removing it. Many adjusters are threaded in opposite directions at each end, so the wrong way can bind or strip the threads — go slowly and stop if it doesn't turn smoothly.
Is it safe to drive a short distance to the alignment shop after installation?
A short, careful drive at low speed to get the alignment done promptly is generally fine. Avoid highway speeds, heavy loads, or field work until the alignment is confirmed.
What's the difference between a tie rod end and a tie rod kit?
A tie rod end is the individual ball-joint component; a tie rod kit bundles it with related hardware, such as the nut, for one vehicle application. Check the listing to confirm what's included.
My tie rod end has a grease fitting — how often should I grease it?
Follow the greasing interval in your vehicle or implement's maintenance schedule. A sealed, non-serviceable tie rod end won't have a fitting at all — check which type you have before assuming it needs grease.
Can I install a tie rod end without raising the vehicle at all?
No. You need the wheel off the ground to access the joint, separate it from the knuckle, and thread the new part on without the vehicle's weight loading the linkage. Always raise and properly support the vehicle first.
Shop Genuine Tie Rod Ends by Vehicle Model
Tata Commercial Vehicles & LCVs
Mahindra
Eicher
Tractor Power Steering — Sonalika, John Deere, Swaraj & New Holland
Ashok Leyland
Don't see your exact model? Browse the full Tie Rod End catalogue or download the printable Tie Rod End PDF catalogue.
Closing
A tie rod end installation is straightforward with the right steps and torque — and it's only complete once the alignment is checked. Browse MOD Plus's genuine, OEM-grade tie rod ends above by vehicle model, and reach out if you're unsure which part fits yours.
Written by the MOD Plus Technical Team. Reviewed for technical accuracy by MOD Plus's parts and technical team, Sanjay Gandhi Transport Nagar, Delhi.


Comments